
Steel Window Restoration
This example documents the work we perform with steel windows. These gorgeous specimens were produced from the late 1800s through the early 1900s. They have lasted 100 years. Why replace them with plastic that will be in a landfill in 20 years? The greatest difficulty we face when restoring these windows is that the rot is often hidden. The surface looks fine, but once we remove the frames, we find that a process called “rust jacking” has occurred, where the metal turns into an iron flaky pastry (yuck!). We follow various procedures to remedy these issues, and reinstall them to perform their duties for another century.

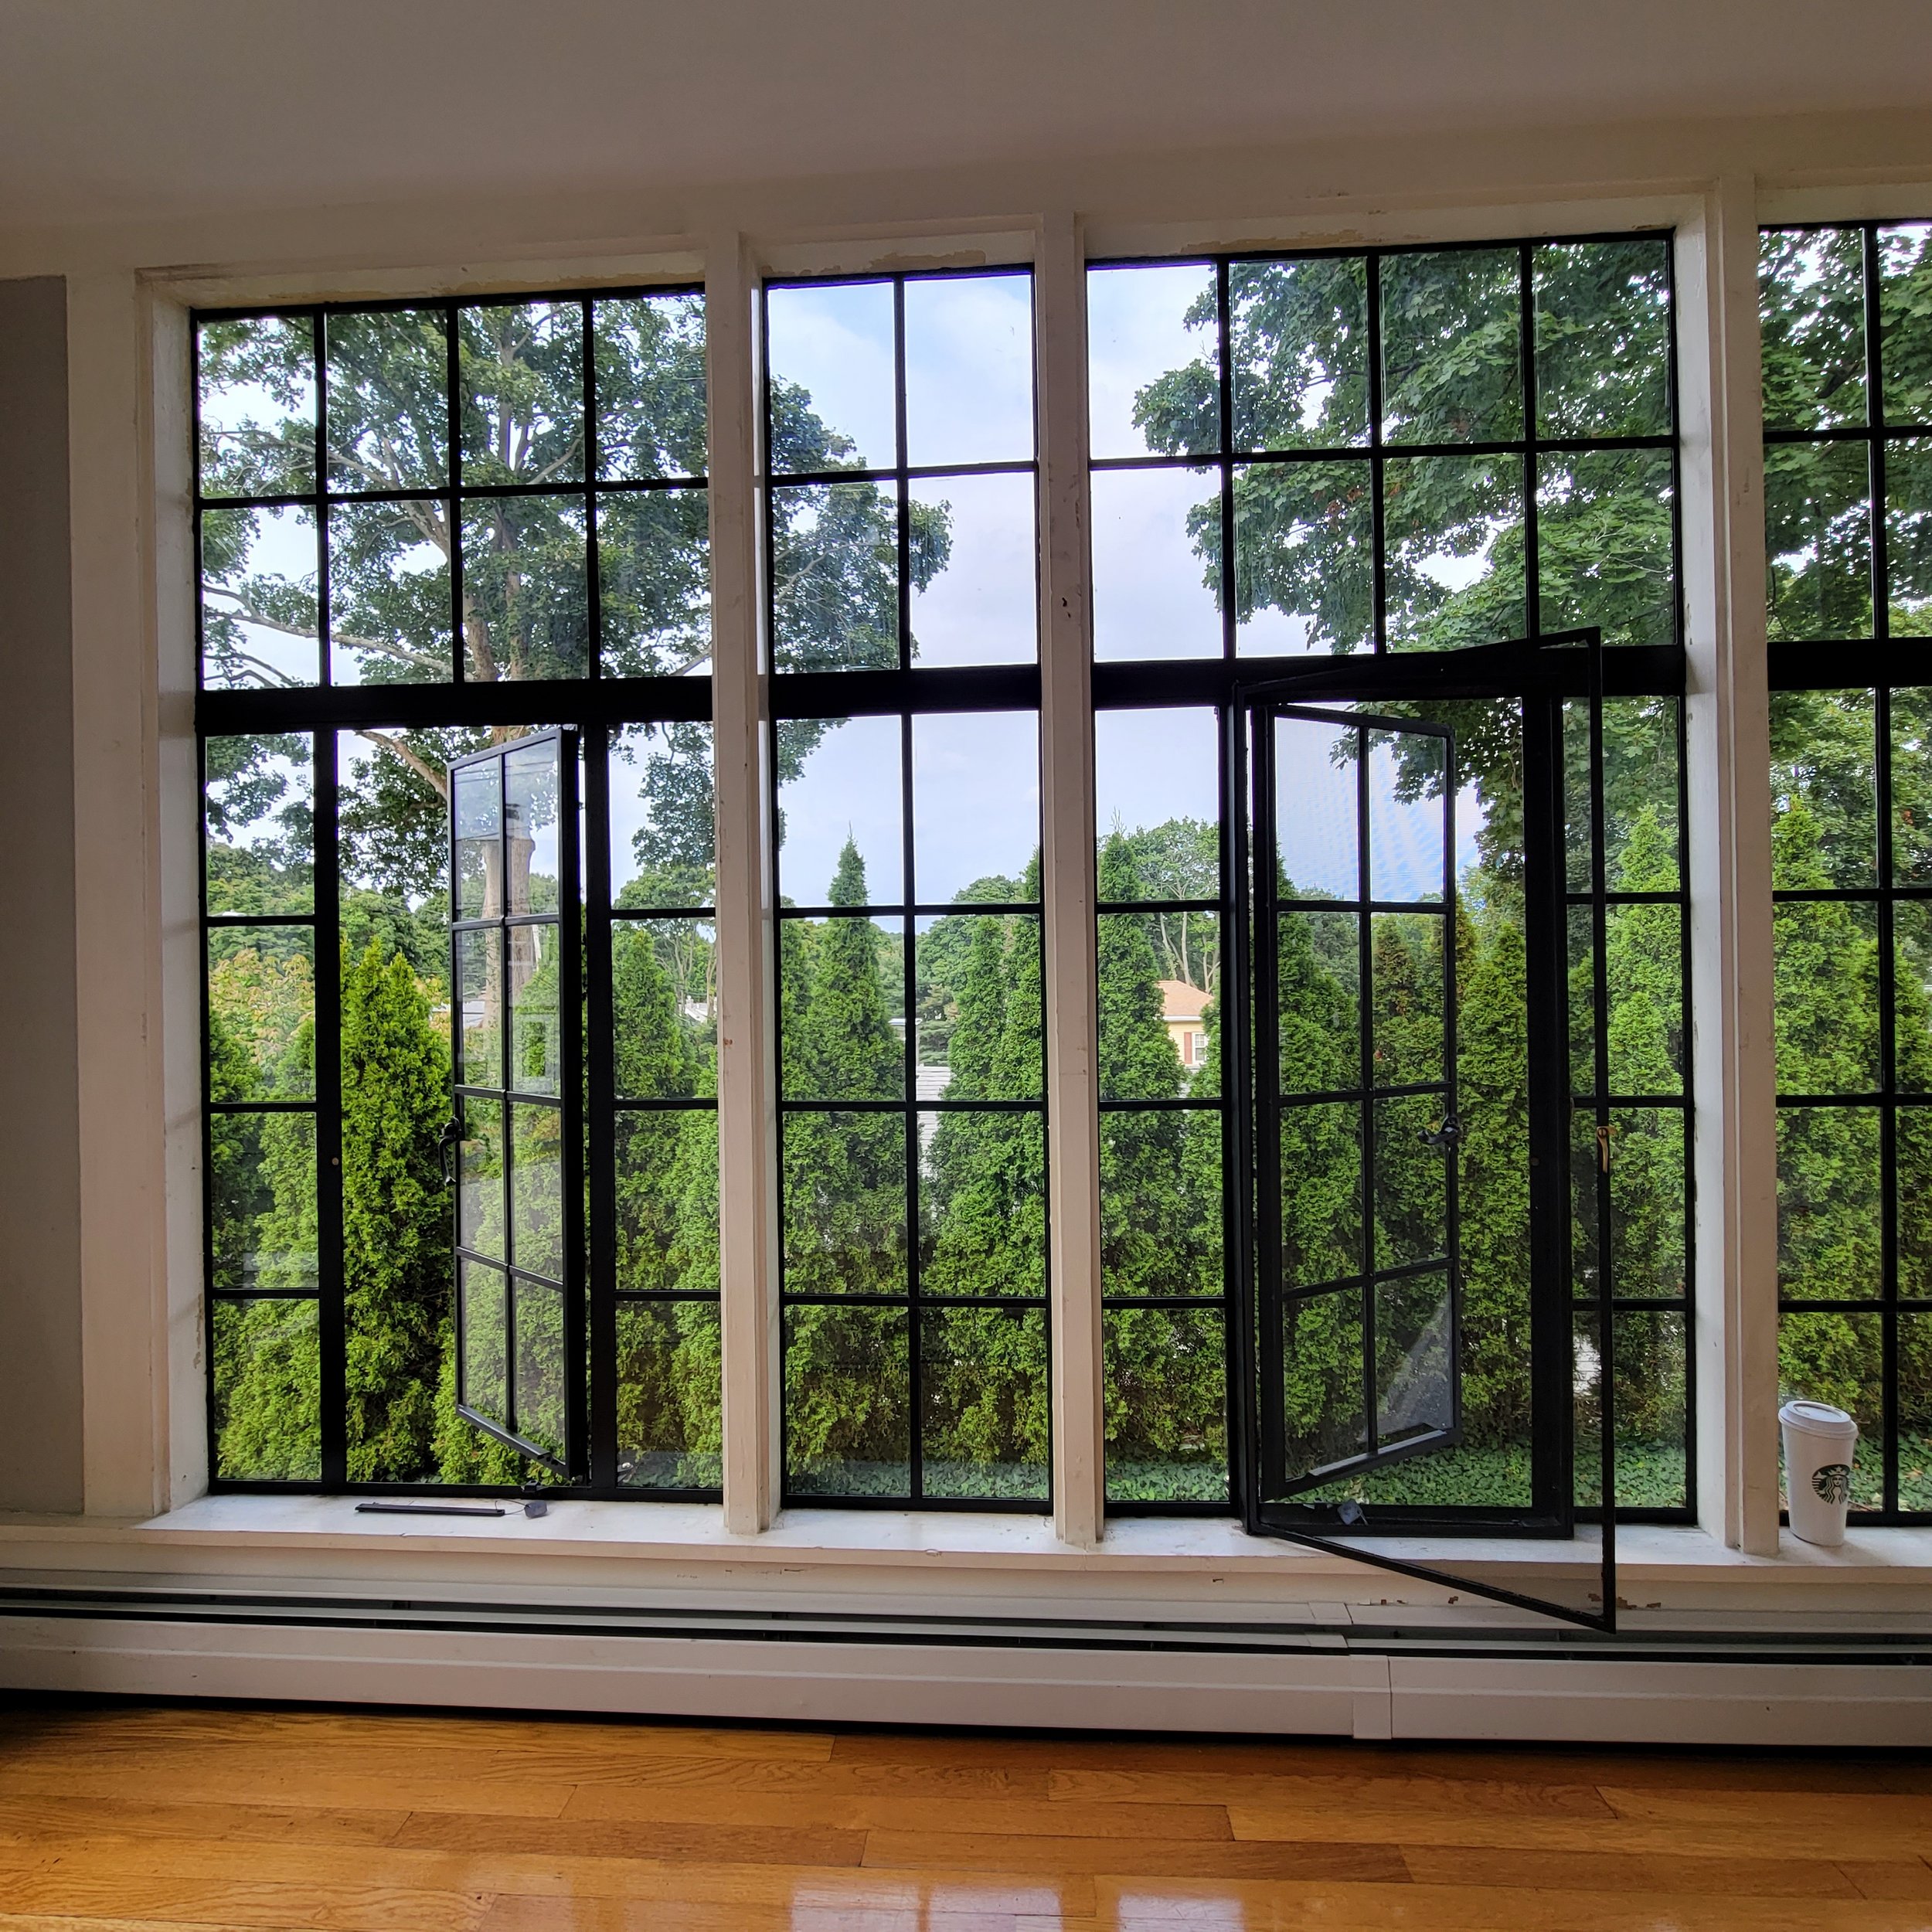
Before beginning work: these windows had cracked putty, a weathered paint job, and were leaking in many locations.
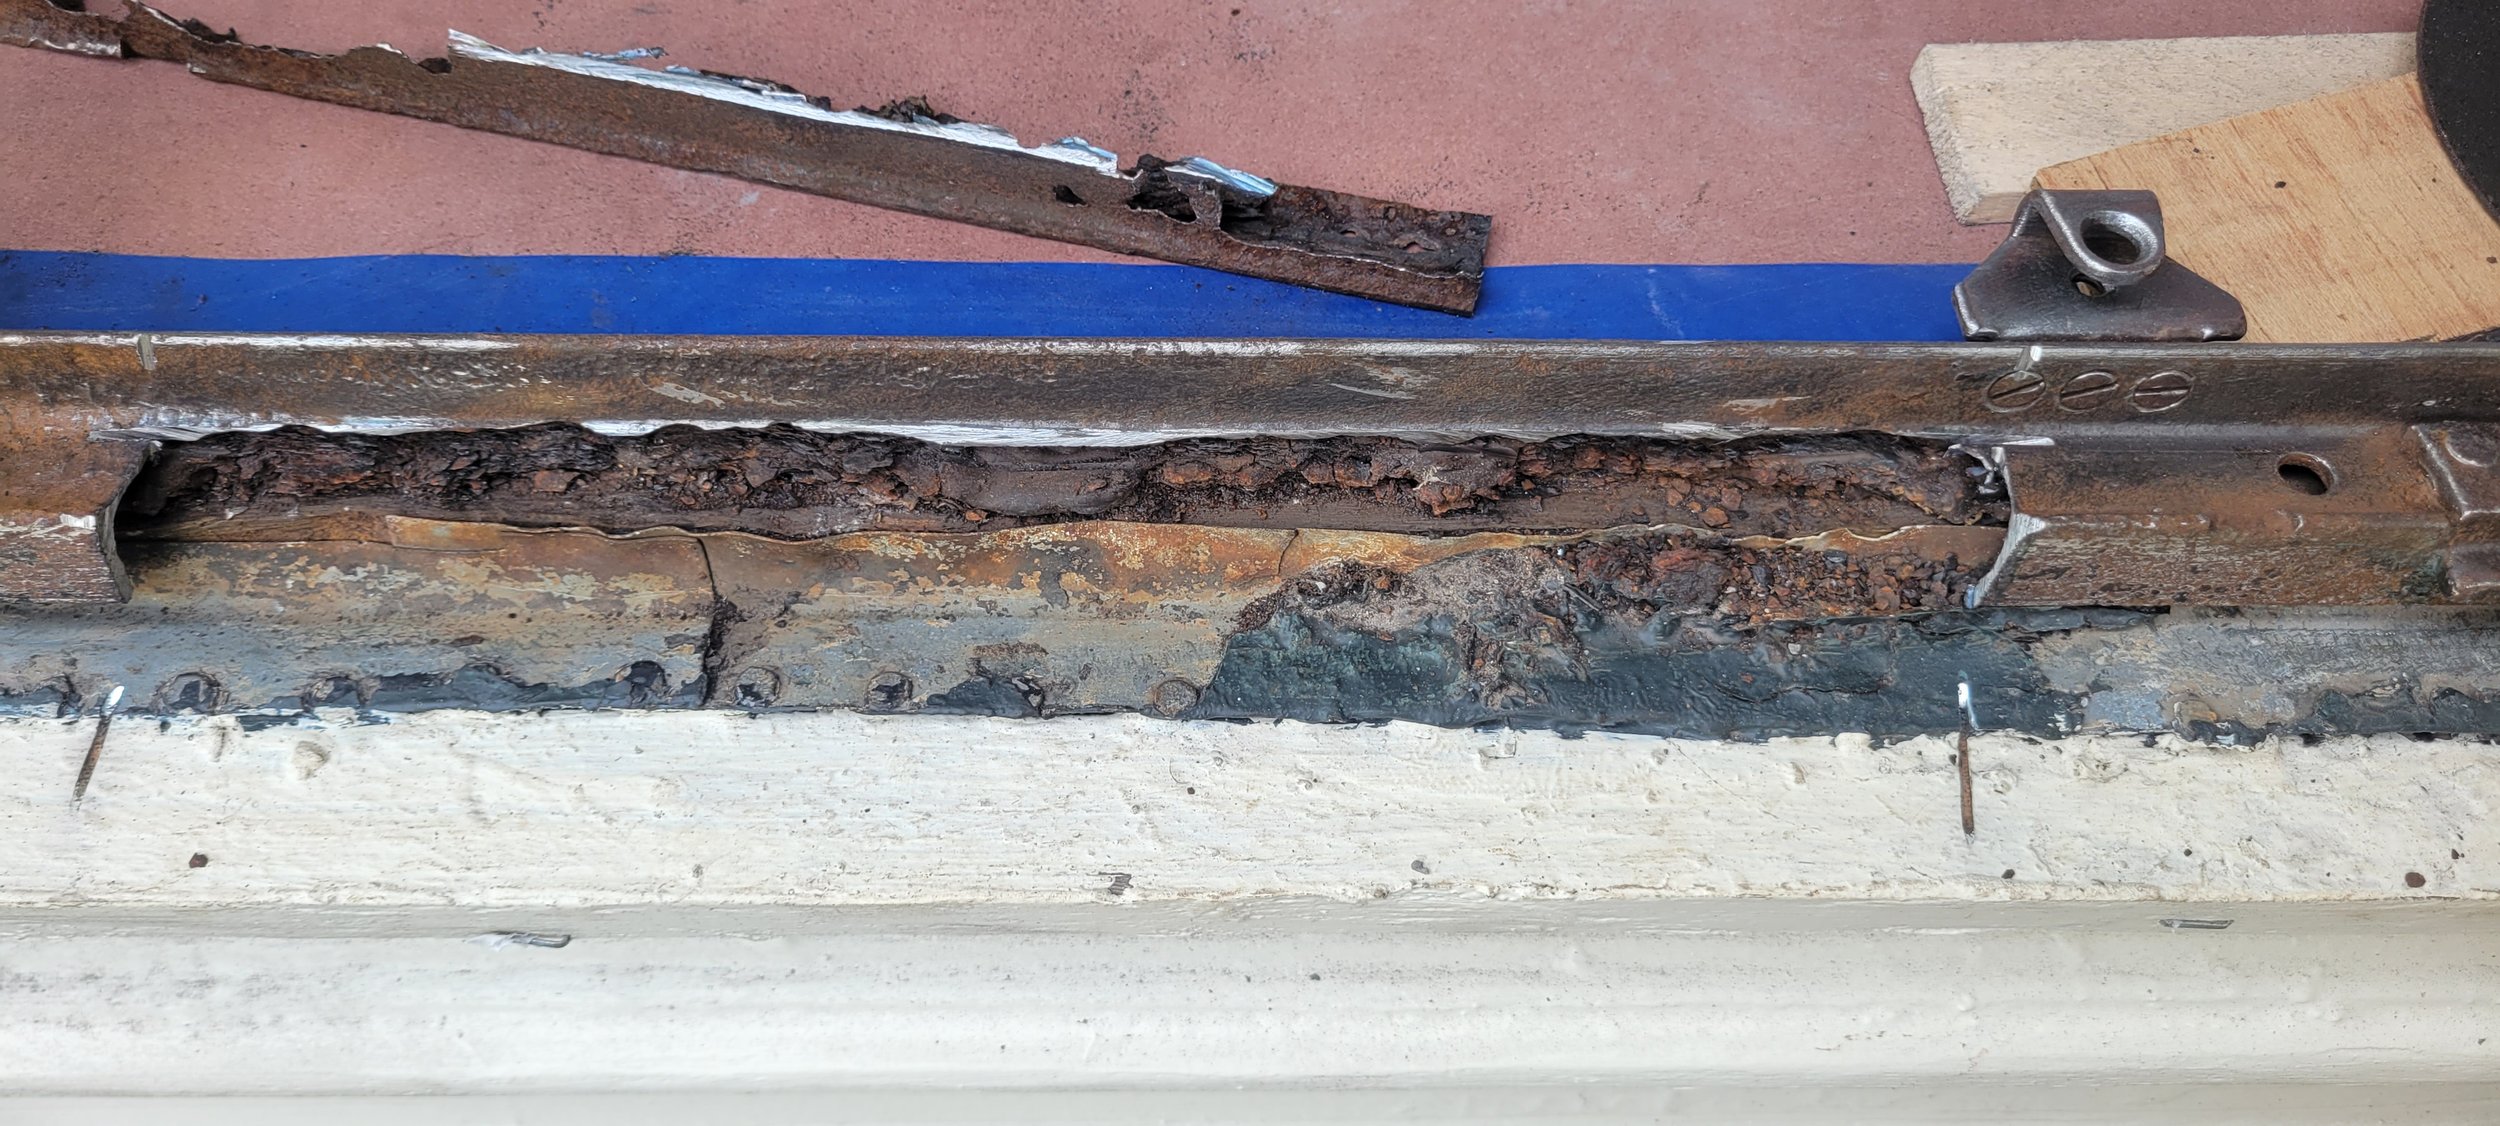
This is what we found when we removed a more rotten section of frame. Here's that "flaky pastry" I mentioned.

Out with the old, in with the new. These special steel profiles are no longer available and need to be fabricated. This one is in the shape of an extruded capitol "F".

The casements, side lights, transoms and frames were removed for repair and refinishing.
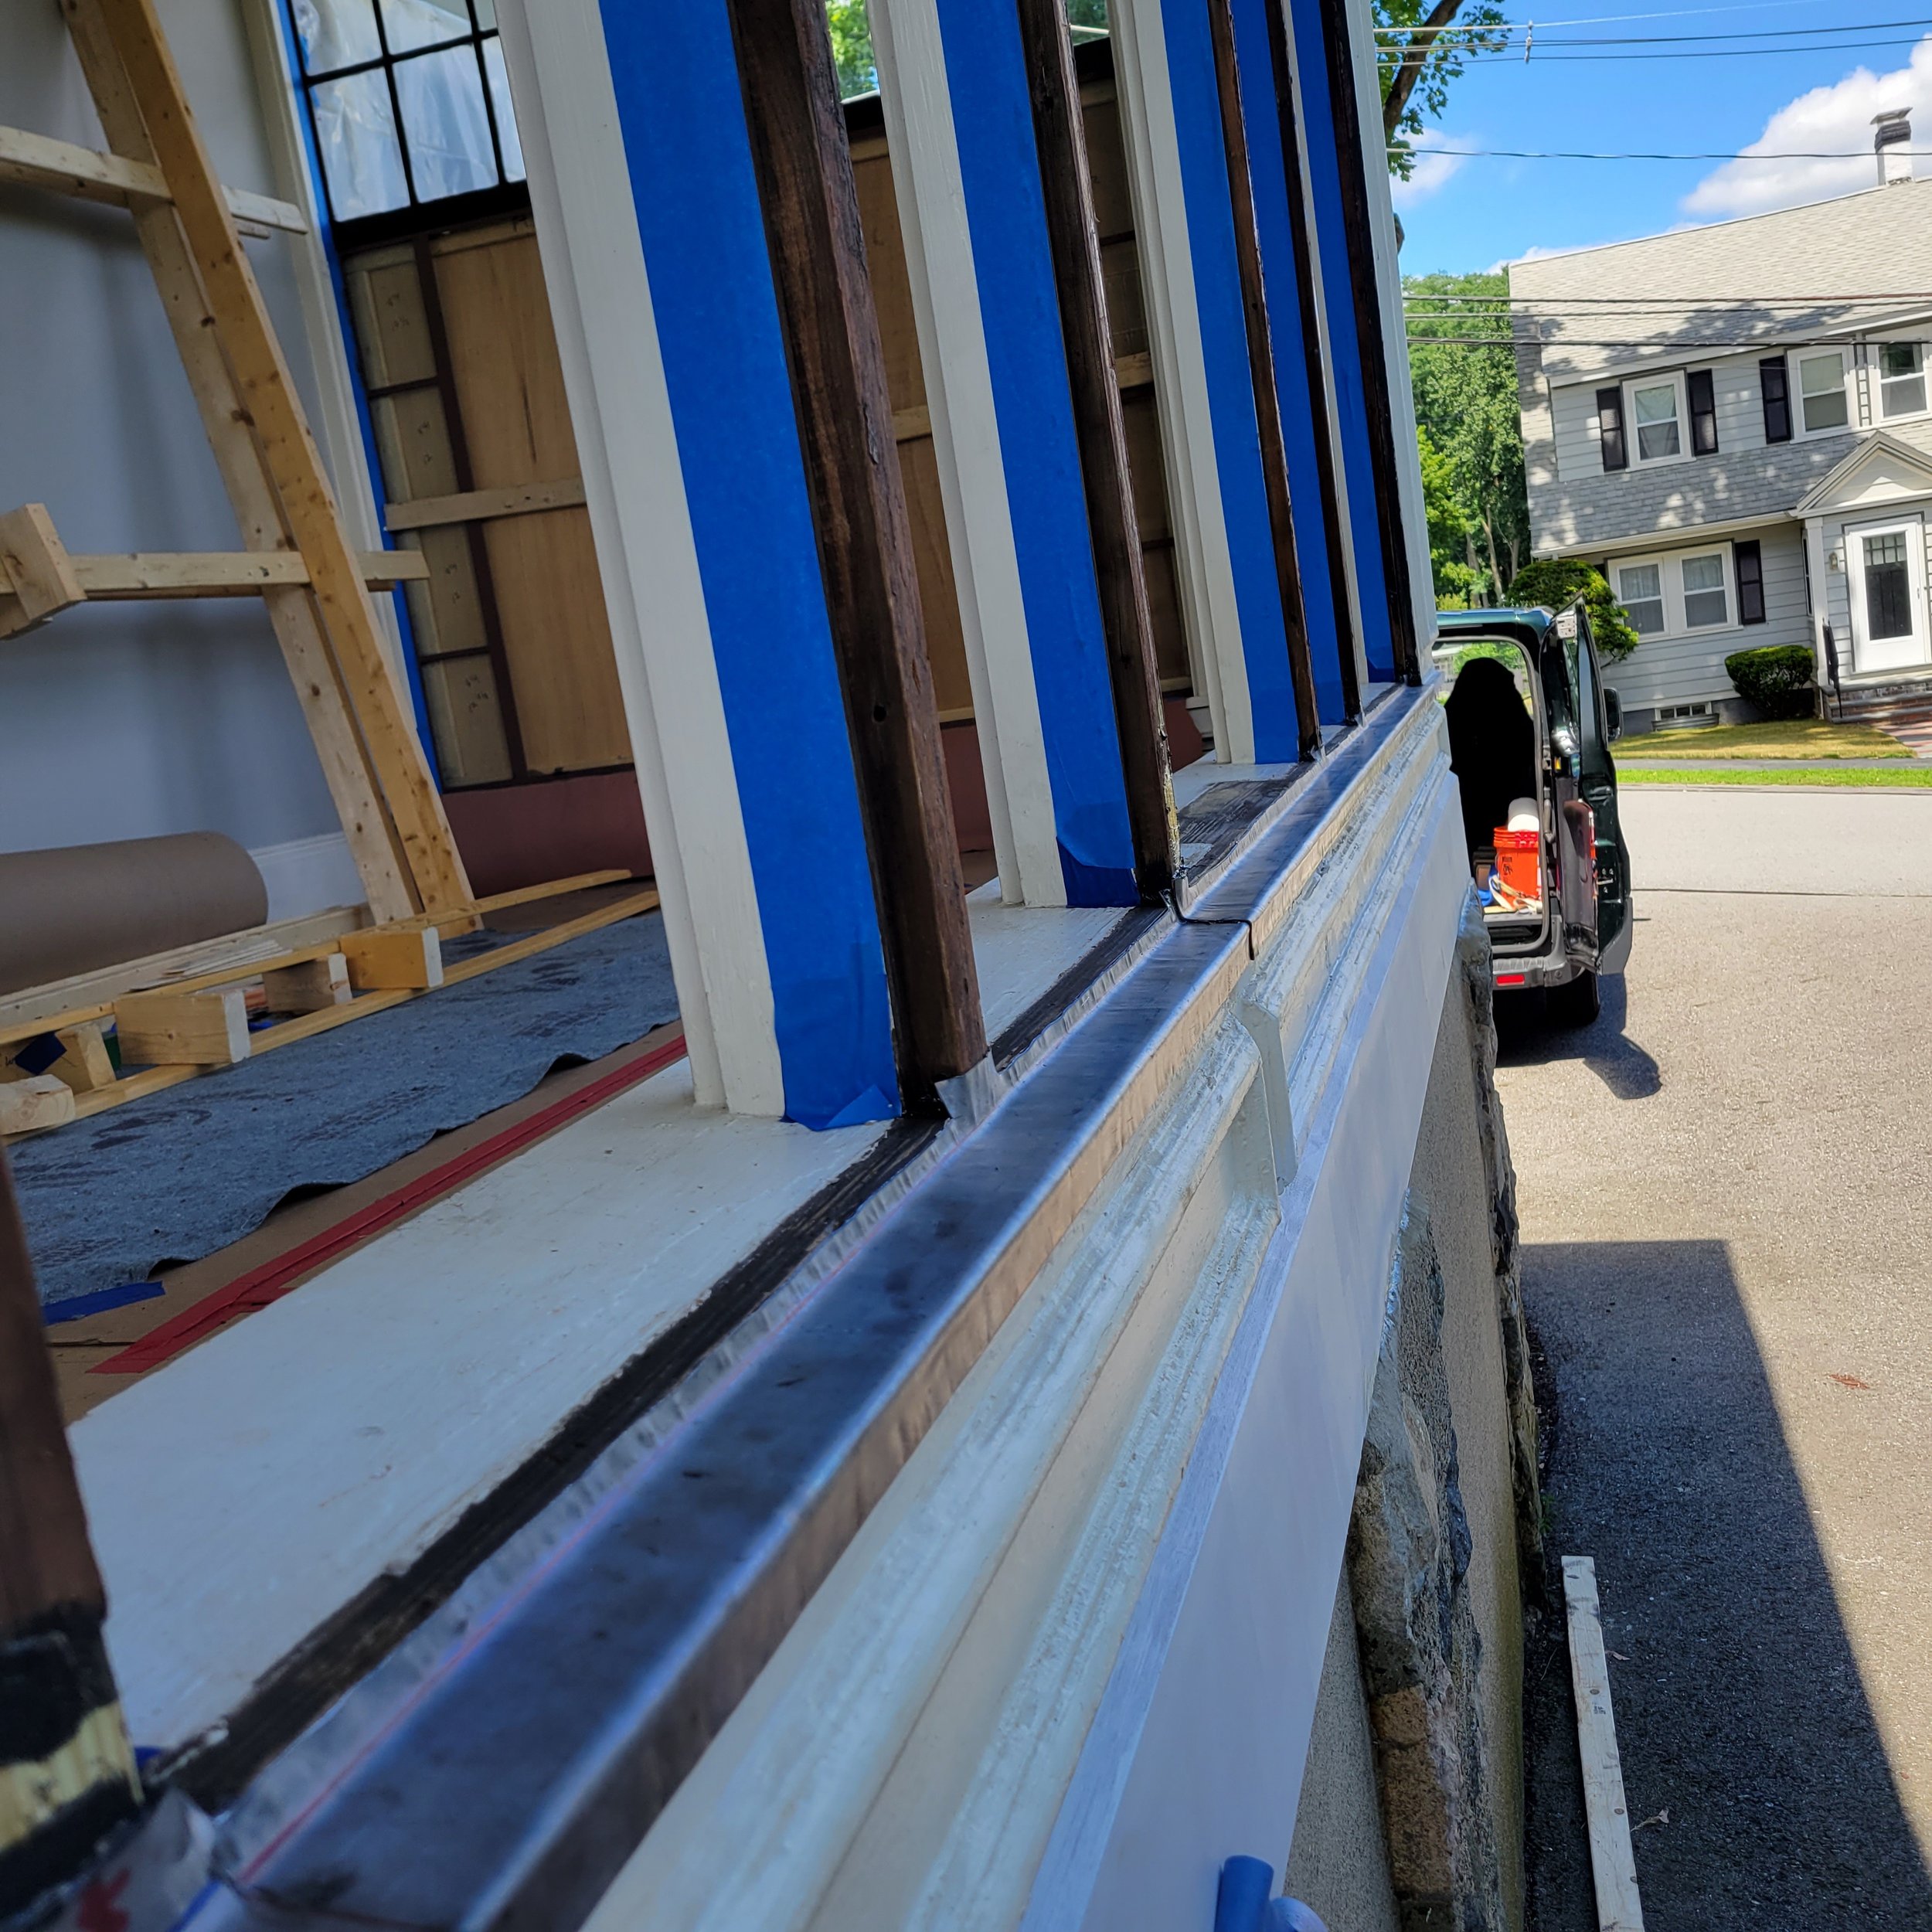
With the windows out, any necessary repairs to the wood sill or underlying structure were taken care of. We also replaced the rotten fashing with new lead.

We reinstall the windows with stainless steel hardware and modern sealant at the building envelope.
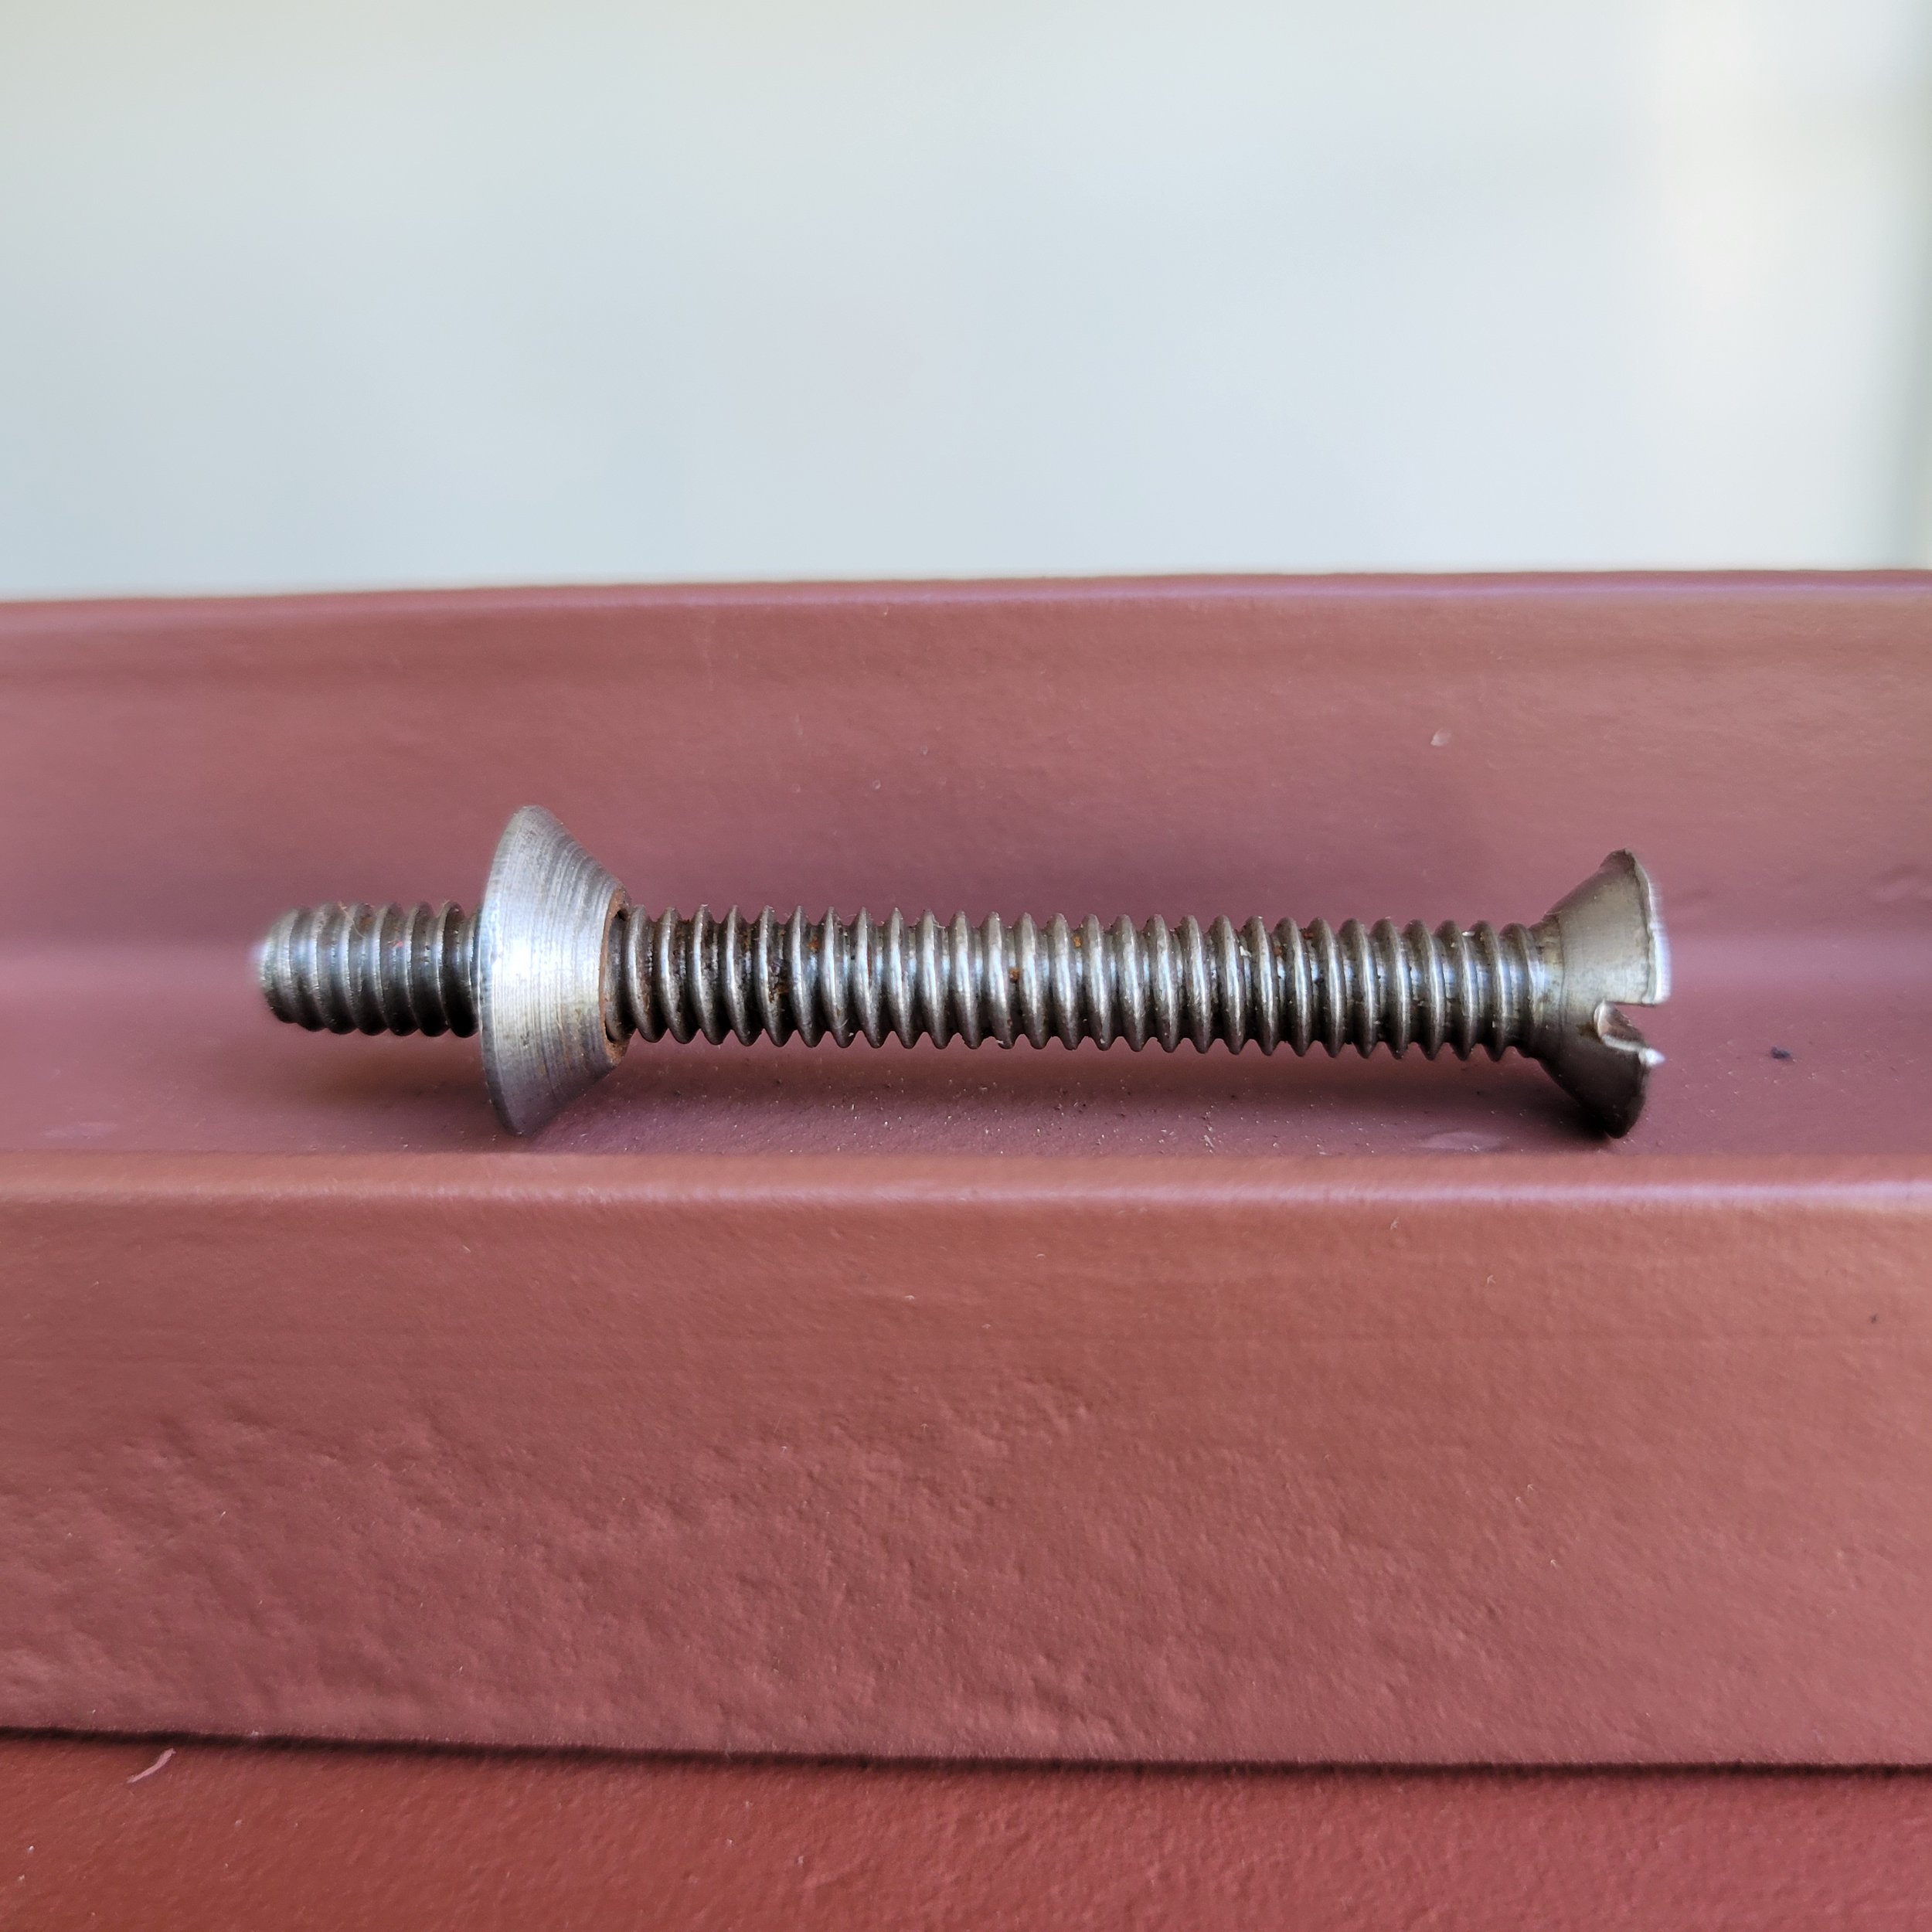
Beautiful hardware with special countersunk nuts that connect the transoms with the casement frames.

We worked on this project in tandem with our friends at Heartwood Window Restoration, who took great care of the glazing and painting for this project. Click the image to connect with Heartwood.
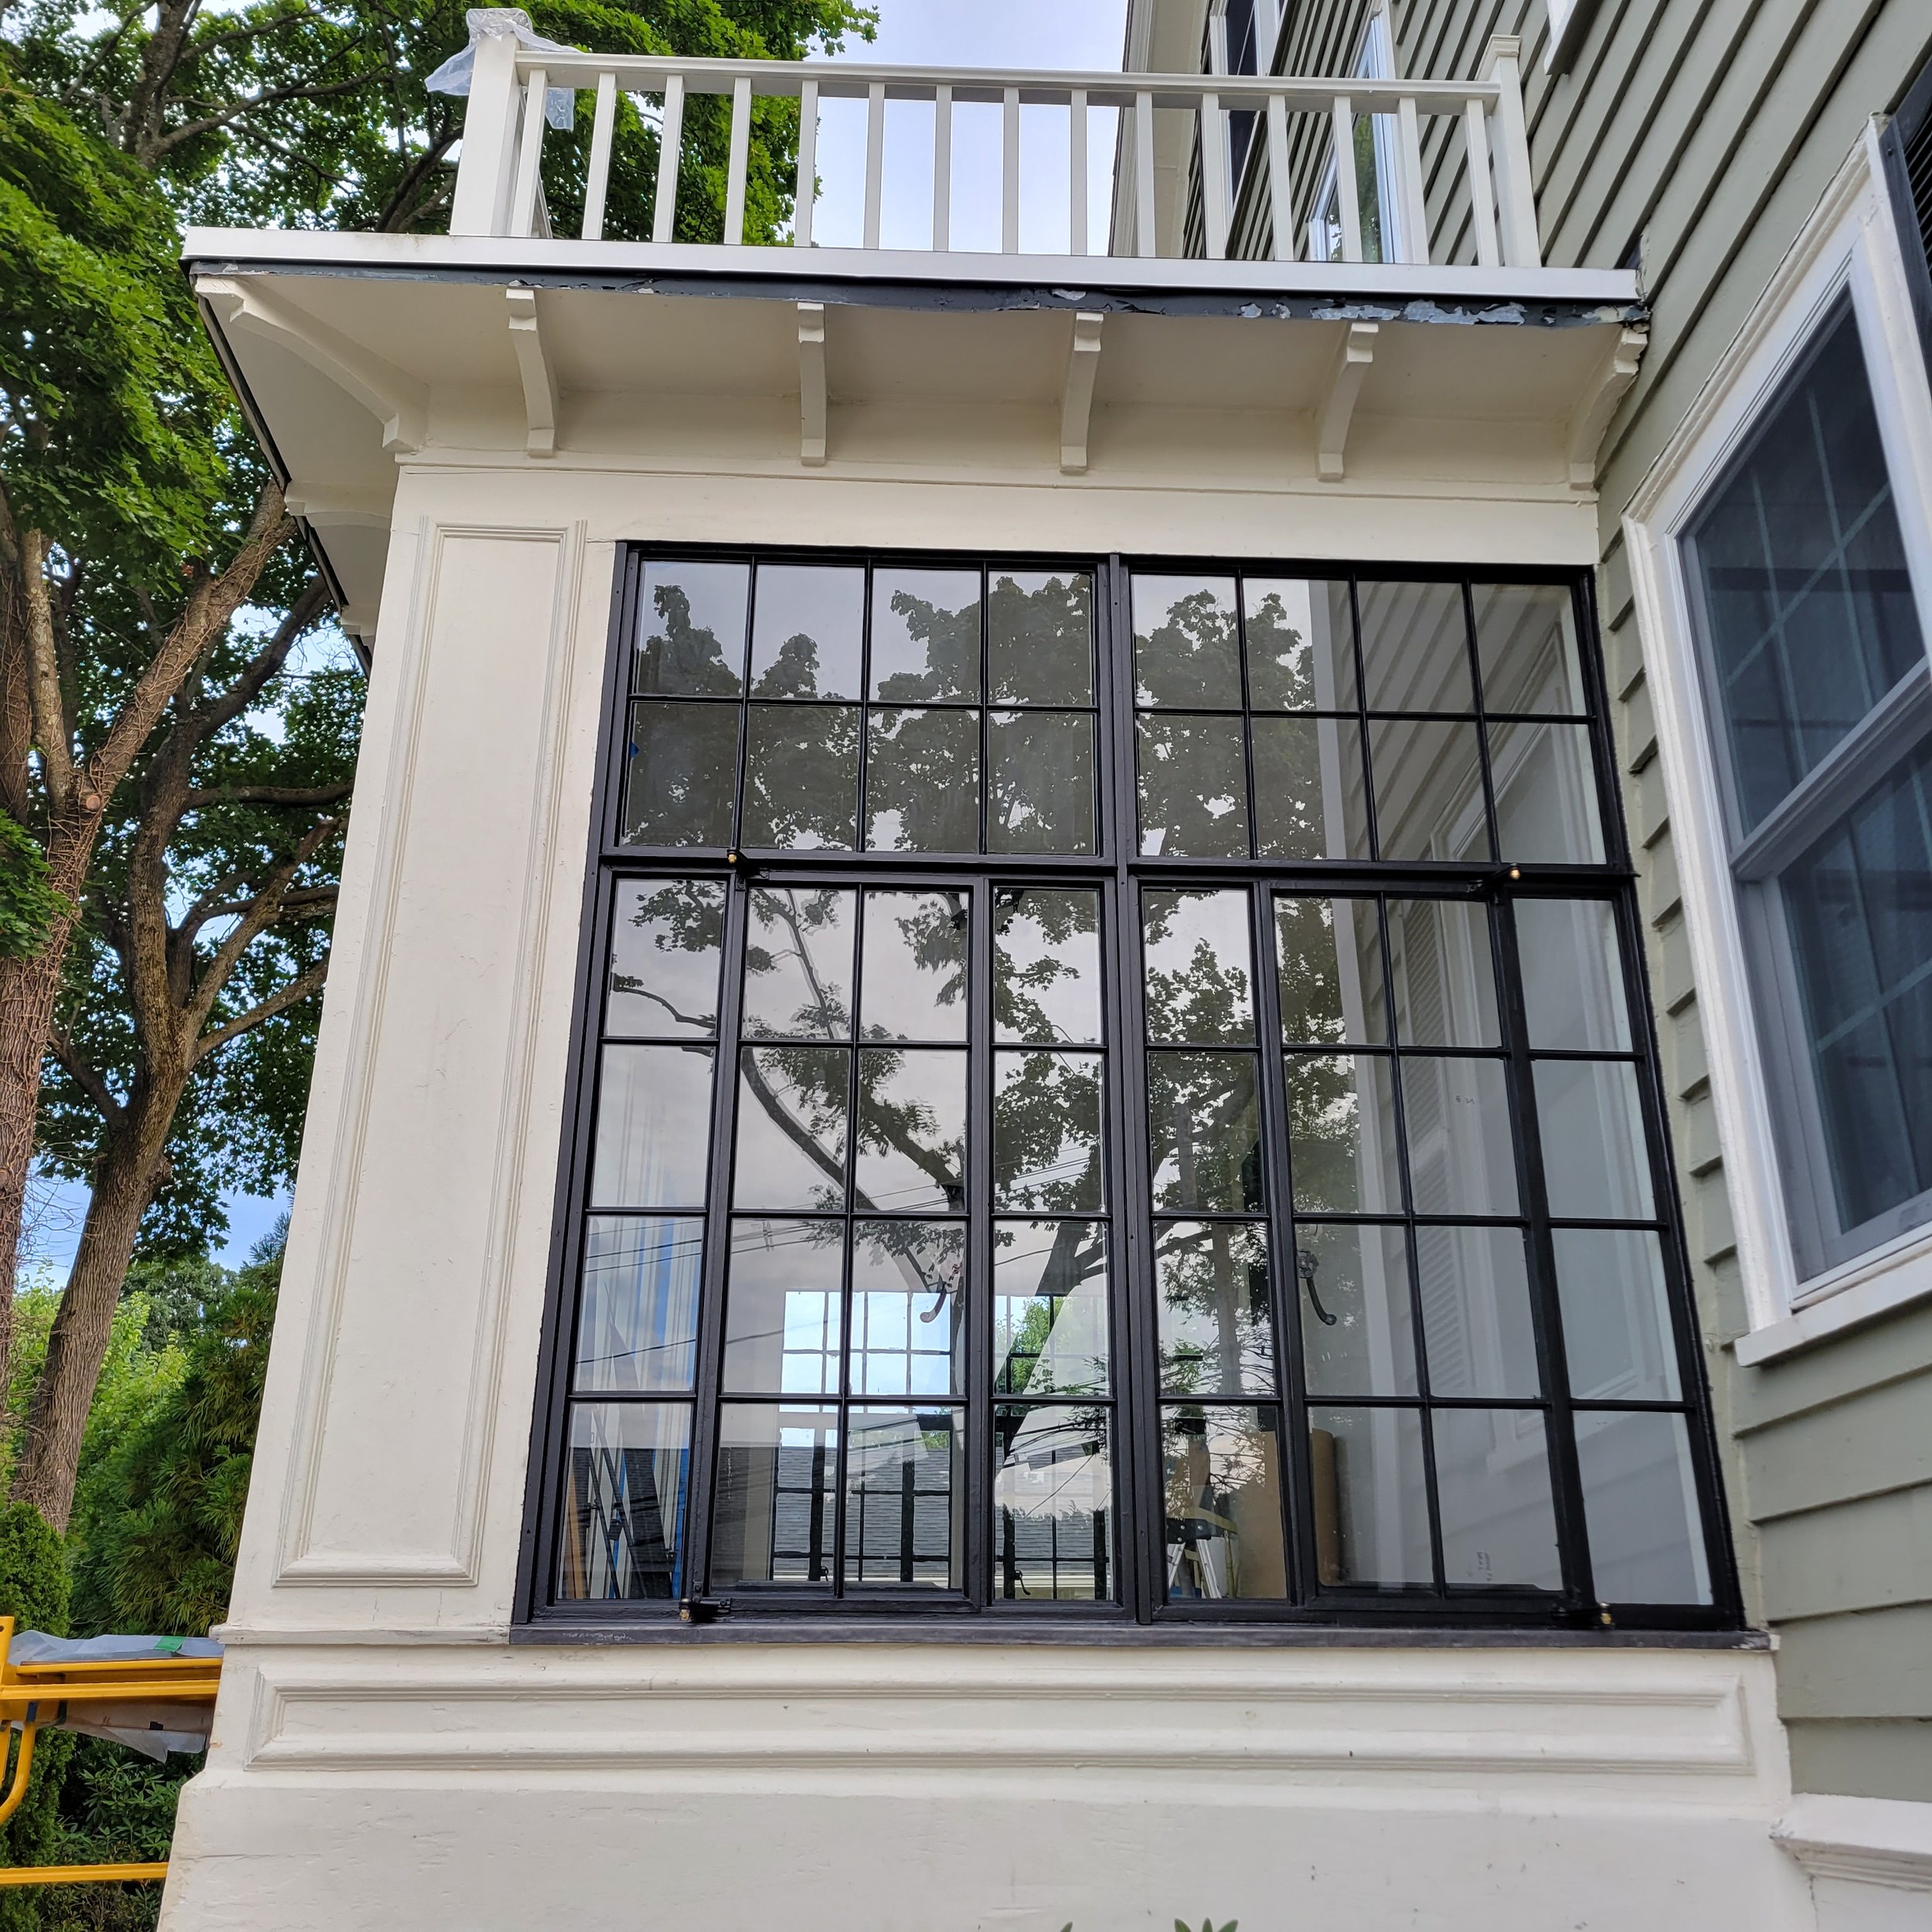
The North side of the house with finished windows.

We needed to replace springs on the vintage Finestra hardware. This required soldering in new pins to use as a rivets to hold the springs in place.
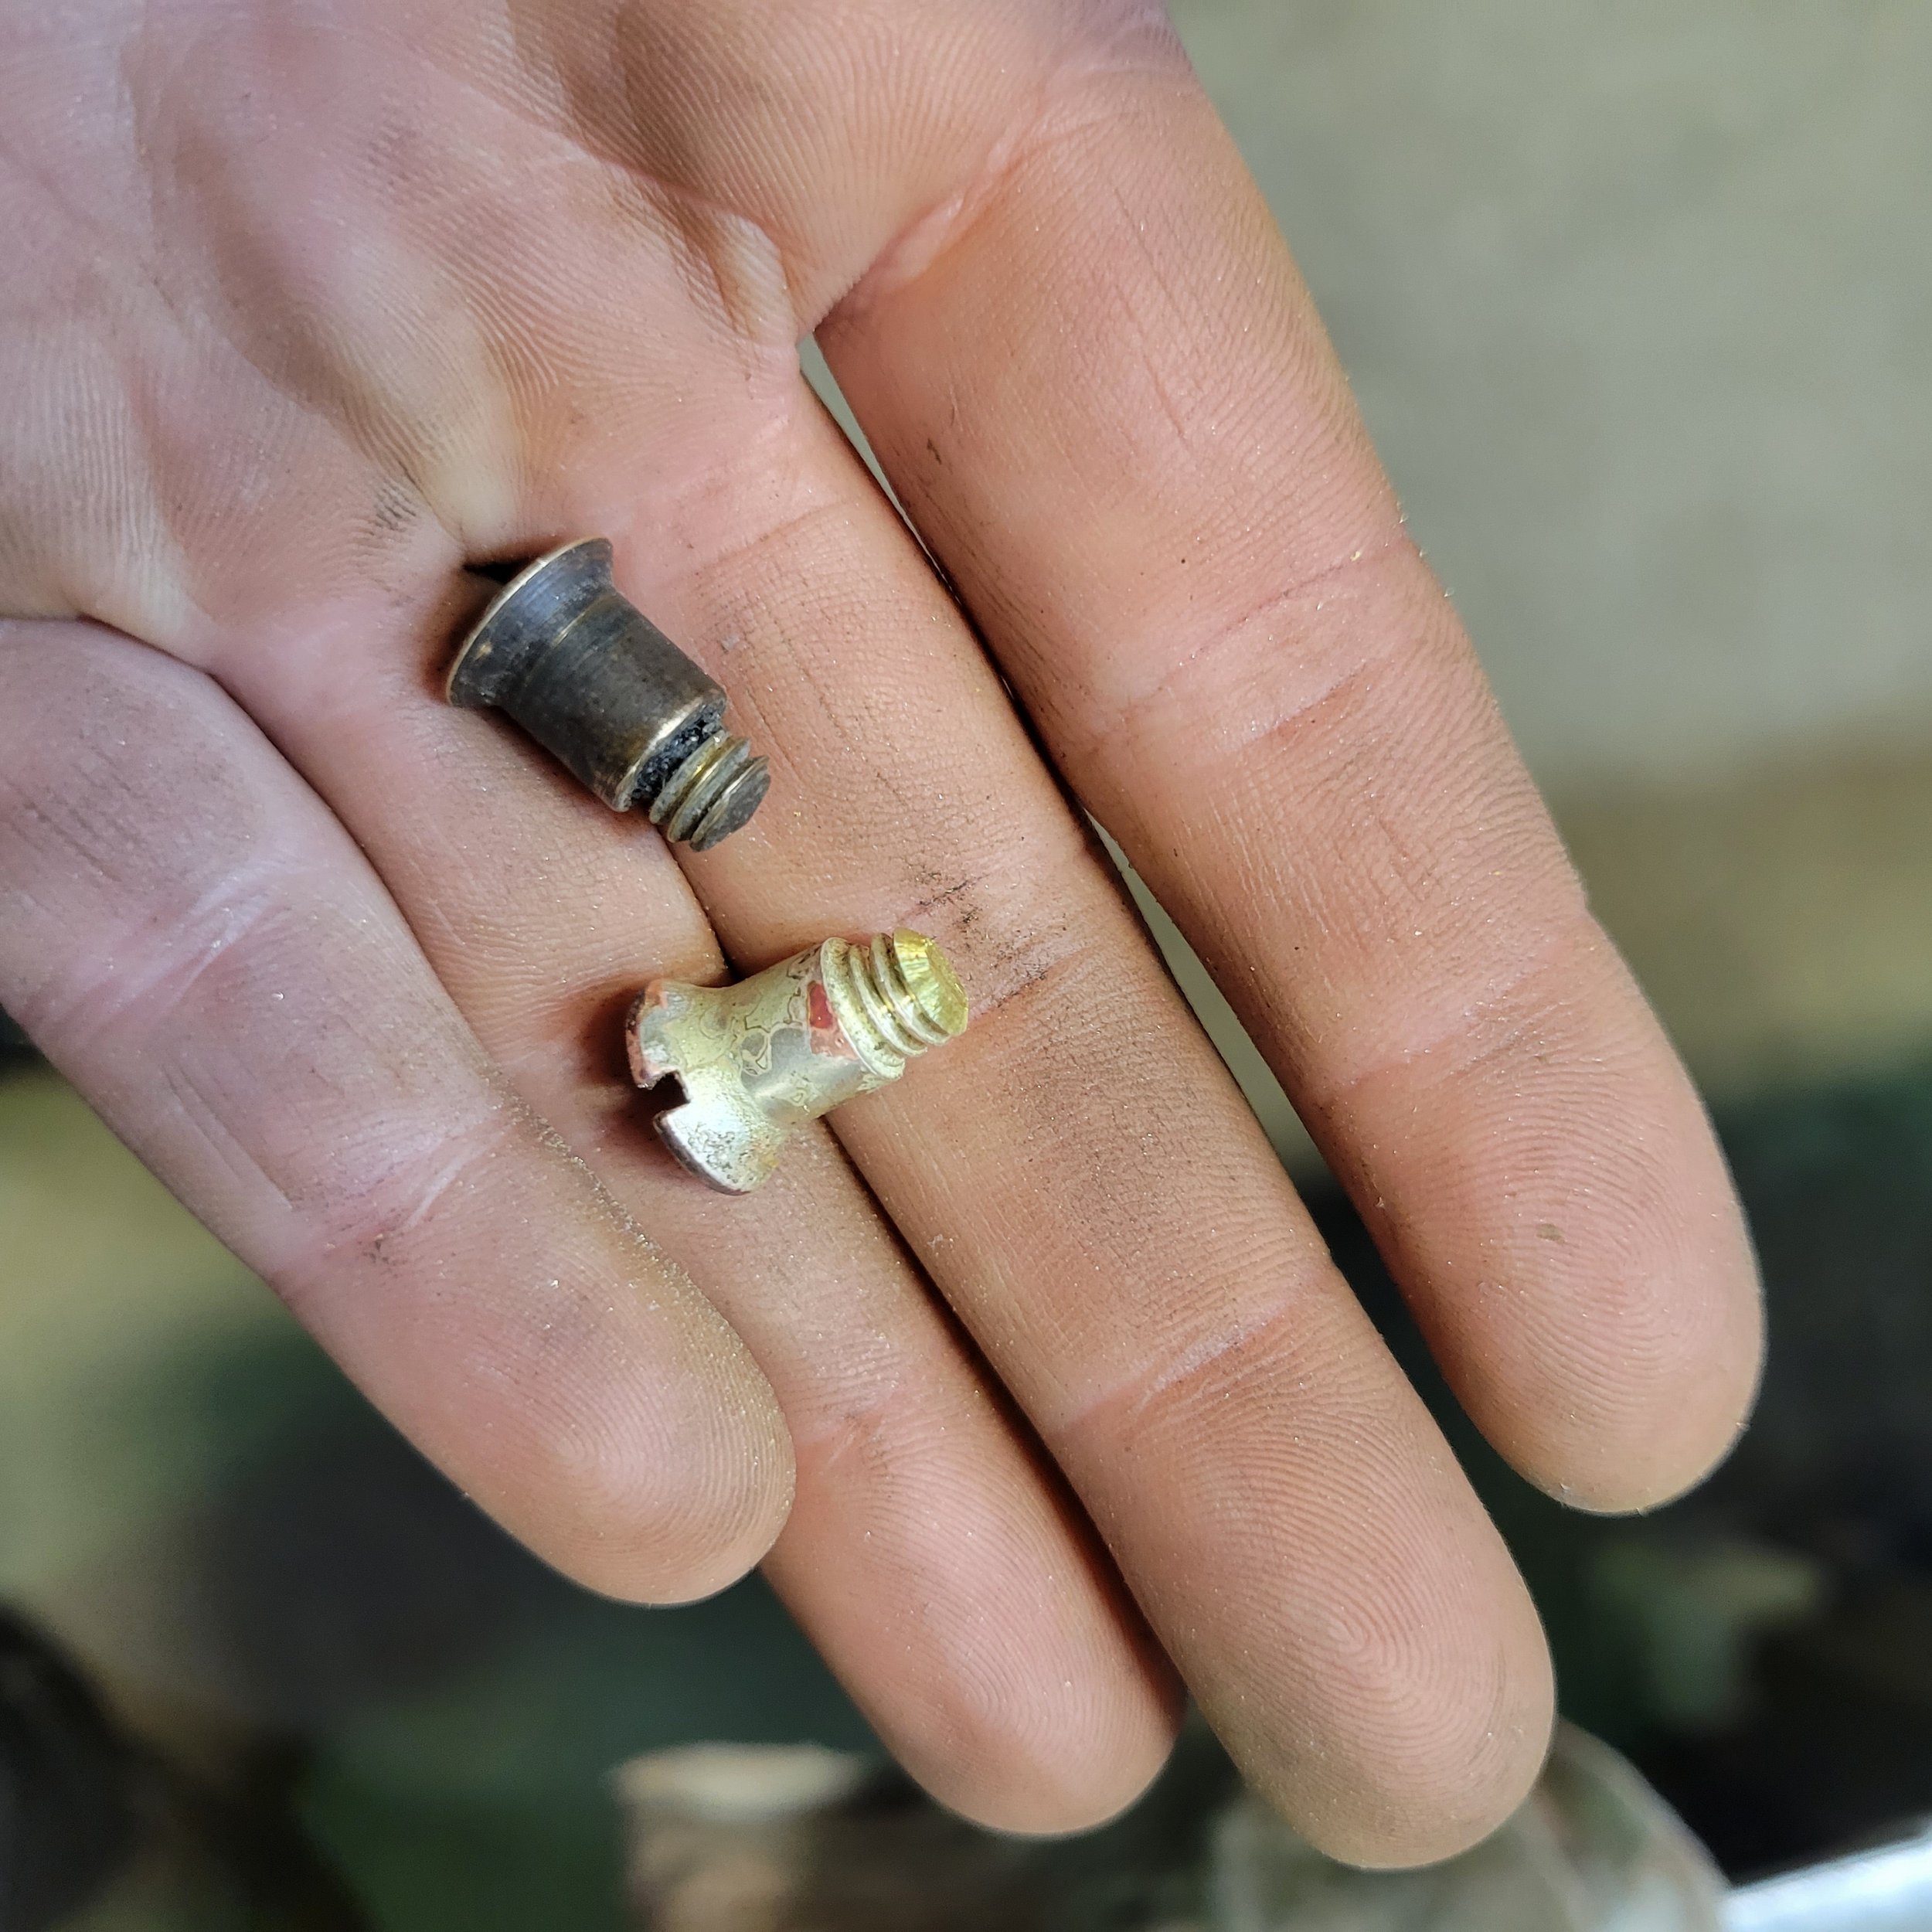
More custom replacement hardware.